Top 5 Gmail Lab Features
April 3rd, 2009
Ever since Gmail launched its Gmail Lab, I have been its fan. Some of its features are so awesome I use them day in and day out. Mentioned below are my favourite lab features:
1. Go to Label
If I were asked to pick one best lab feature from all of them, this would be it. I have set up filters extensively to mark labels to most of my emails. I’m also a keyboard shortcut junkie & expect web apps to have keyboard shortcuts. Retrieving emails based on a given label had never been this easier. Just type ‘g‘ followed by ‘l‘. A small dialog opens and offers suggestions as you type the label names. This is an awesome feature that saves loads of scrolling and clicking.
This is an Excellent lab feature that was announced yesterday. I have enabled it and searching mail using its operators has been made very easy. This also offers suggestions from your contacts as you type. For each letter that you type, if there’s an available search operator, it lists that as well; neatly separating the operators from the contacts with a black line.
3. Tasks
Less is more. This tasks features offers very little features, almost mimicking it to a paper to-do list. Just list the tasks and strike them as you are done with it. There are of course some advanced features tucked in. But they don’t appear at first sight. This is a well executed Labs Feature. There are times when you do not need a full blown task manager & this feature comes in handy. I hope they bring this feature to their gmail mobile app.
4. Youtube, Picasa, Flickr Previews
Recently, I have been trekking/touring a lot. People from the trekking gang send emails with links to Picasa/Flickr albums. They also add youtube video links to the email because there’s no way to actually embed a video inside an email. With this labs feature, I’m able to enjoy all the related photos/videos in one place. Really cool.
5. Quick Links
This is one awesome feature. Many months ago, I posted a question on a mailing list asking for suggestions for buying wireless routers. After a week since the discussion, I was searching high and low for that email but couldn’t find it. Lots of people had given valuable suggestions and how can I lose them all? As soon as I found the email, I activated this quick links feature and clicked on “Add Quick Link” button in its dialog box. Voila! Now I can reach this email directly with a mouse click.Â
There are also times when I search for “in:inbox is:unread“. This search operator retrieves all mails in your inbox that have not been read yet. I didn’t want to type this operator every time to check for unread messages that are buried somewhere. I just added a Quick Link for this operator and now its just a click away. Happy times!
What are your favourite Gmail Lab features? Let me know in the comments.
Two days ago, as I switched on my computer, I got this error message; “A disk read error occurred. Press Ctrl + Alt + Del to restart”. It is the dreaded Black Screen of Death. The most probable reason for this message is that the hard disk on which the computer is booting would have crashed or its in the process of crashing.
The best you *must* do at this point is that, remove the faulty hard disk, connect it as a slave to another computer and take backup of all data. After data is safe, you can try and find out the point of failure. After all, that error message doesn’t necessarily mean that your disk has crashed.
Probable Points of Failure
- The bus connecting the hard disk to the mother board is faulty.
- The master boot record (MBR) on the hard disk got corrupted.
- SMPS (Switch Mode Power Supply) failure. In this case, your computer may not boot at all. But there are times when only one of the power plugs may fail.
If anyone has encountered any other points of failure, please let me know in comments and I will add them here.
Answers
- For the faulty bus, you can grab another bus cable from the secondary drives, connect it to the mother board with the faulty hard disk and try booting. If it works properly, head straight to the electronic store to get a new cable.
- To replace the corrupted MBR, pop in your operating system’s installation CD/DVD and follow the on-screen instructions. For Windows, boot in from the installation CD, press ‘R’ for recovery console, give your administrator password, and type the following the commands: fixboot, fixmbr. For linux, you must reinstall the boot loader (grub). Restart the computer now. If all is well, it should reboot properly.
- Remove the power plug connected to the faulty hard disk and connect one of the other plugs that are attached to the SMPS. Reboot the computer now and try.
In my case, my hard disk had crashed. But thankfully, I had proper backup of all data.
Nagalapuram Trek
March 4th, 2009
Hey guys n girls, last Sunday I trekked on the beautiful Nagalapuram Hills. Thanks to the Chennai Trekkers Club for organizing this trek. I wrote a blog entry for them on the same & with their permission, I’m repubishing it here for your convenience 🙂 . Without much ado, here it goes.
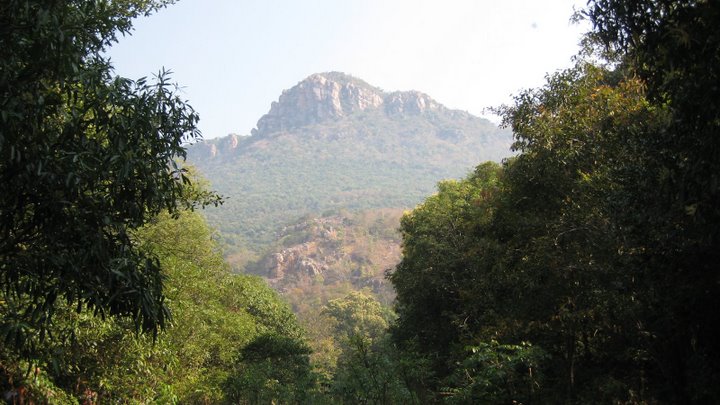
I love one day treks & I also love water bodies. Throw in some steep climbs, thorny bushes and 20 foot water slides; you have perfect contents for an ultimate experience; which is what happened yesterday. Nagalapuram is a Pristine Beauty.
Beautiful Nagalapuram
About 100 CTCians assembled at Koyembedu by 4.45 AM on a not-so-cold morning. After making sure that there was sufficient transport available, we all whistled and started towards the Heaven on Earth which is named as Nagalapuram. What a sight it was to see more than 10 cars and bikes ruling the early morning roads like an Anaconda.
Soon, we reached Nagalapuram, distributed snacks, lunch etc. and we started on the path.
The Walk
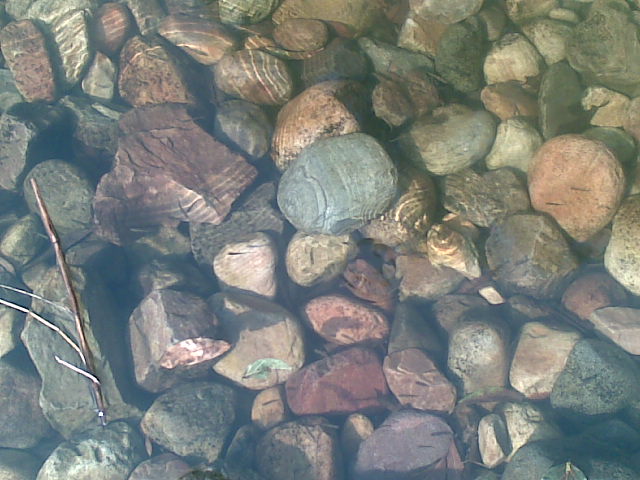
Initially, we had to walk for close to 3-4 KMs on a path strewn with medium to huge sized pebbles. It looked like water had been flowing through this path few months ago. Then we crossed a dam and posed for the first and only group photo 😀 which had all the members of the trek. After we crossed the dam, we stepped into the forest. The divine greens were a huge difference to us city folks and it immediately made our spirits soar. On the way to the first pool, we encountered small rivulets where we washed our faces and let our bodies enjoy the first touch of Mother Nature’s purest water. It was crystal clear, cool and tasted like nectar.
The Pool
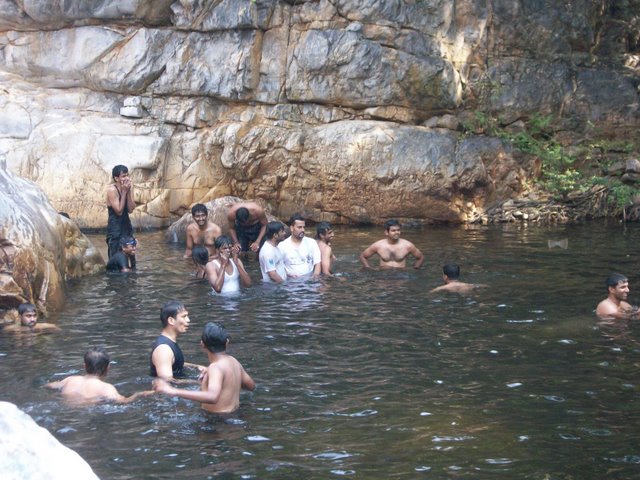
We reached the first pool. The water in this pool was very clear and cool that no one will ever get a chance to taste something even remotely similar in cities. To the left of the pool was a small waterfall which was the main source to this pool. The waterfall had few rocks which were naturally arranged in the form of a couch. Few people swam to this end and enjoyed the waterfall. There was one more huge rock right in the middle of the pool. Lots of people including non-swimmers climbed to the top and jumped into the deeper end of the pool from here.
Clear water and pebbles
First Pool
An eeru kuchi (tamil word for a lanky twig) called Rekha got on top of the rock with Peter and Guru. She doesn’t know how to swim. Holding their hands, P, R & G jumped in. Peter surfaced first, followed by Guru. With the force with which Peter and Guru pulled her up, she almost flew for a few seconds making us all roar with laughter. This happened for few more times. Then an adventure!
An awesome dude named Satya wanted to hop along the water bed to reach the other side. In his path, the deepest end was about 6 feet; just enough water to cover our head. On the return journey, our dude lost his balance and did an underwater somersault. I was following right behind him and tried to pull him up. But he was heavy for me and he got on to my shoulders pushing me down. Thank goodness I had my nose and mouth closed. Seeing us, 3 swimmers jumped in immediately to the rescue.
Thinking I was in distress, they lifted me. But I was all ok. Now two of them realizing this, went under water and lifted him by his trouser. As he was nearing the surface all the 4 of us lifted him like we lifted Rekha. He came out of water shaking his head and screamed “I made it!†… We all laughed at that and continued on our journey after an hour of massaging that we got from the Nagala waters.
We never thought more adventures were yet to come.
Forty Feet Deep Pool
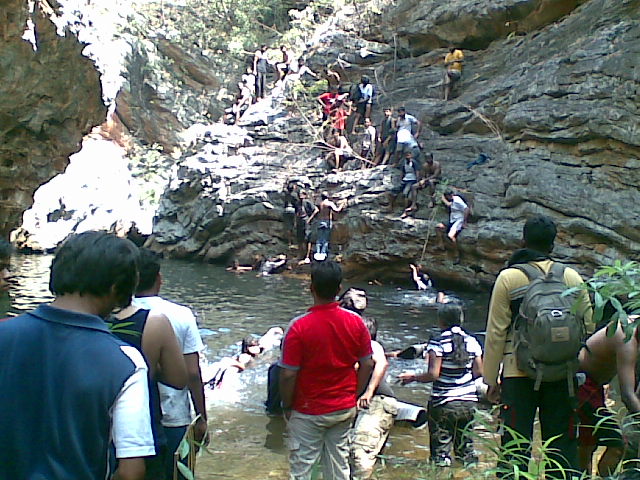
As we continued our trek, the next destination was a forty foot deep pool. This pool had to be crossed with all our belongings intact. Non-swimmers were the most dangerous lot. All the swimmers got in first. They made it to the other side of the pool first and transferred the first set of bags. Many experts in swimming held two bags above water and swam across effortlessly like a fish. I was all smiles seeing that. I only knew how to float properly. Silently, I vowed to myself that I would learn to swim like that and also learn the underwater cycling trick.
The Forty Feet Pool
As soon as the swimmers settled, transportation of non-swimmers began. One by one, each non-swimmer held on the rolled over sleeping mat and started kicking their legs. Each of them was accompanied by a swimmer. When we reached the other side, Naresh, Sujai, Mahesh, Rahul and many more guys helped us to find a decent place where could put our hands and climb up the ledge. Did I mention that the ledge was very narrow and it’s just a plain simple drop to the deepest end of the pool if we slipped?
But none of us slipped. Adrenalin was in full flow. As more people got on to the ledges, we formed a human chain to transport the bags being passed from the other side of the shore. The human chain extended to the rocks beyond the pool and all bags and belongings (cameras importantly) were transported safely. This teamwork happened instantaneously with no one telling what to do. When instinct/survival mode takes over, humans naturally cooperate with each other and get things done.
There was a small waterfall between two rocks. Water was rushing & it made me to jump in immediately and get wet. After staying for about 10 minutes there, I joined the rest of the gang in the climb up.
Steep Climb + 1
The Steep Climb
We took some snaps and we were on our way to go. Shortly on our walk, we came to a second pool. There was an alternative steeper route to the top, which we decided to pick. There were no places to hold on to, except some loose creepers and tree roots. We started climbing here. As soon as Satya and I made it to the top, we heard some voices at the bottom. They were wondering whether that was the route we had to take. We smiled at each other and waved at the sweeper gang to follow us. Guru came in first with his backpack. Together, the 3 of us first transported the sleeping mats to the top.
There was no place here except a thorny bush. So we placed the mats next to each other to form a platform; on top of which the trekker’s bags were kept carefully. A nudge would have sent the bags rolling down to a greenish pool below. Soon everybody made it. Our dear Sujai started tearing our ears with his mokkais. I asked “Why blood?†and he replied “Sameblood :D†in typical Vadivelu style.
Pool 2
After crossing this place, we came to another beautiful pool. Diwakar walked in first and depth-tested it. After he signalled that it’s easier to walk across the pool, we followed suit. In the similar manner as in pool 1, we got on the ledge above the pool. Only difference was that this ledge was even smaller. From here, we hopped on to the rock on our opposite. Placing one foot there and another foot in the place where we were, we were climbing in-between 2 huge rocks like spiders. At one point, we saw a big brown crab. As I was admiring its beauty, my foot slipped and I landed right beneath our crabby. Admiration quickly turned into fear. I found my balance quickly and climbed up.
Lunch Spot
Yay! 🙂 What a day it had been until now. We even forgot that we were famished. We had some lunch and started on our way. This time, we had to pass through huge boulders by hopping on them. At one point, before I got to know Naresh’s name I tried calling him as “white t-shirt guyâ€, “white cap guy†etc. Ok we were actually screaming to make him turn. But he didn’t budge. Guru was beside him. We all shouted “Guru†& he turned. We said “Call that deaf man besides you ;-)†and Naresh turned immediately, smiled and asked “Were you trying to call me?†We said, “We were trying to reach your grandpaâ€. We laughed and continued.
Pool 3
Before long, pool 3 came about. This was a very small one and nothing in size compared to pool 1 and 2. These pools in the wild have the tendency to get deep suddenly. So all of us treaded carefully with bags on top of our heads and walked to the other end. We had a guy named Ashok in our gang. Since he was the tallest and fussiest, he nick-named him as Mama (with dubious meaning 😉 & ragged him. He rewarded our rag by snapping our pictures on his Nikon D-something SLR. I hope the pictures came out well.
After crossing pool 3, we rested for a few minutes and got on one with Mother Nagala Nature. Sujai got bugged at the eerie silence and started to talk. Almost immediately, our ears started bleeding and we were all chattering again. More was coming …
Pool 4
Natural water slide at Pool 4
Peter was with us, listening to all our mokkais and rags. He led us to another pool that was part of another river flowing through the precious Nagala. The river created a medium sized pool at the bottom of a natural 20 feet water slide. All the swimmers took turns to ride the slide and fell WHOOSH!!! in to the water, creating big ripples. This reminded me of the Kone Falls adventure I had. Sujai did the same too; only that water had been displaced 20 feet higher ;-). Many videos were shot at this place. After diving and enjoying, it was time to move on.
Back to first Pool
We trekked for about 30 minutes and then came back to Pool 1. I got excited and jumped in immediately. Many friends from the first gang were already in the water, tempting us even more. We bathed, swam, dived and floated for about an hour and half. Then it was time to come back to the base camp in the same route we had come in the morning … crossing rocky terrain, ledges and following the forest trail.
Pretty quickly, we reached the dam and were on our way. At the base camp, we changed into comfortable wear and started our way back to home sweet home.
Photos
I can sense something burning somewhere :D. Probably your stomach? Here are some galleries to add fuel to the fire:
Seriously speaking, I can NEVER forget this Sunday in my life. It was one of the best experiences ever. I know all of Nagalapuram-14 trekkers would agree with me on this.
Thanks CTC. Thank you Dear Nagala. We love you.
Hope you enjoyed reading it … as much as I enjoyed writing it! Thanks.
Riding the Waves – Alamparai Fort
February 17th, 2009
It all started about 6 days ago, when Arvindh (my Kalari buddy) sent a message asking whether we can visit Alamparai Fort on the ECR on 15th Feb. Paramesh and myself were excited to hear about this idea. Driving on ECR is always fun. Imagine starting the day as early as 4 AM. That would be fun! So, on 15th Feb, the three of us, Arvindh, Paramesh and myself met on the awesome Old Mahabalipuram Road (now known as Rajiv Gandhi Salai or the IT Highway). We started the ride at about 6 AM. It was still dark, considering the fact that it was winter. We drove until Sholinganallur and took the left turn to enter ECR. The whole of IT Highway was flawless, wide and very smooth. It had some advantages:
- No unwary speed breakers.
- Lanes were marked clearly.
- Bright lighting and sign boards to show the way.
All this meant that our ride would be very safe and enjoyable if we followed them & we did! 🙂 Barren lands were covered by soft white mist & passing through them sent a chill through us.
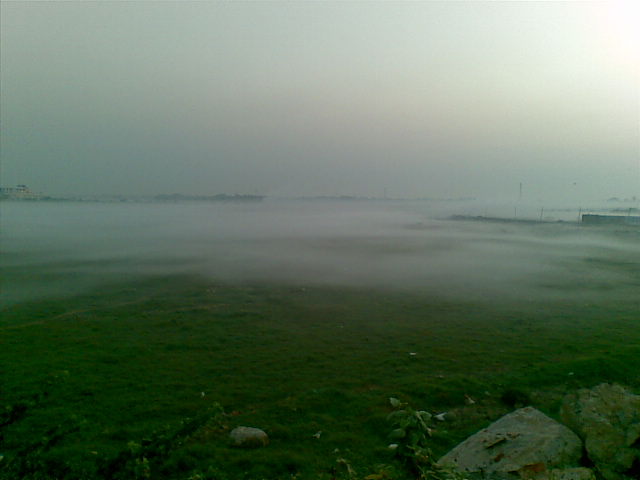
Soon after, we crossed into ECR and drove consistently at 90 kmph. The Sun appeared and graced us with his generous morning rays. We caught a few of them on our imperfect cameras and headed to Mahabalipuram for a well-deserved breakfast. After breakfast, it was a continuous 1 hour drive for about 50 kms to Alamparai Fort. On ECR, to your left, you will see a sign board like this:
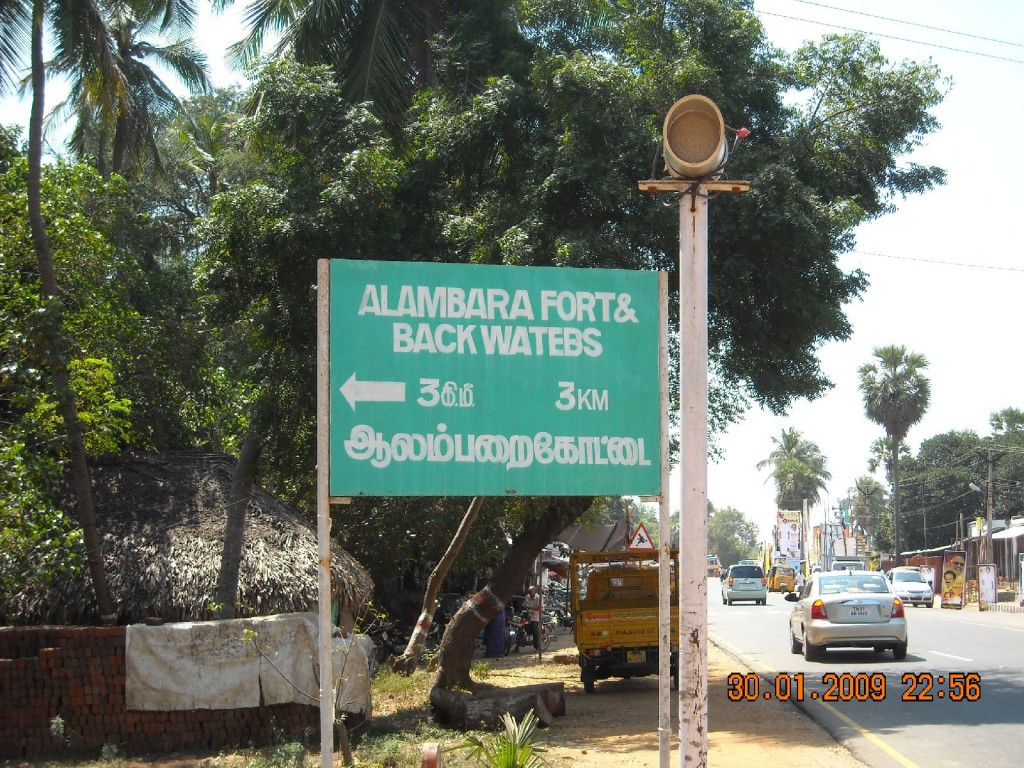
Take the immediate left after this sign board and keep driving on until you see another direction sign board on a black board. We went ROTFL after seeing that 🙂
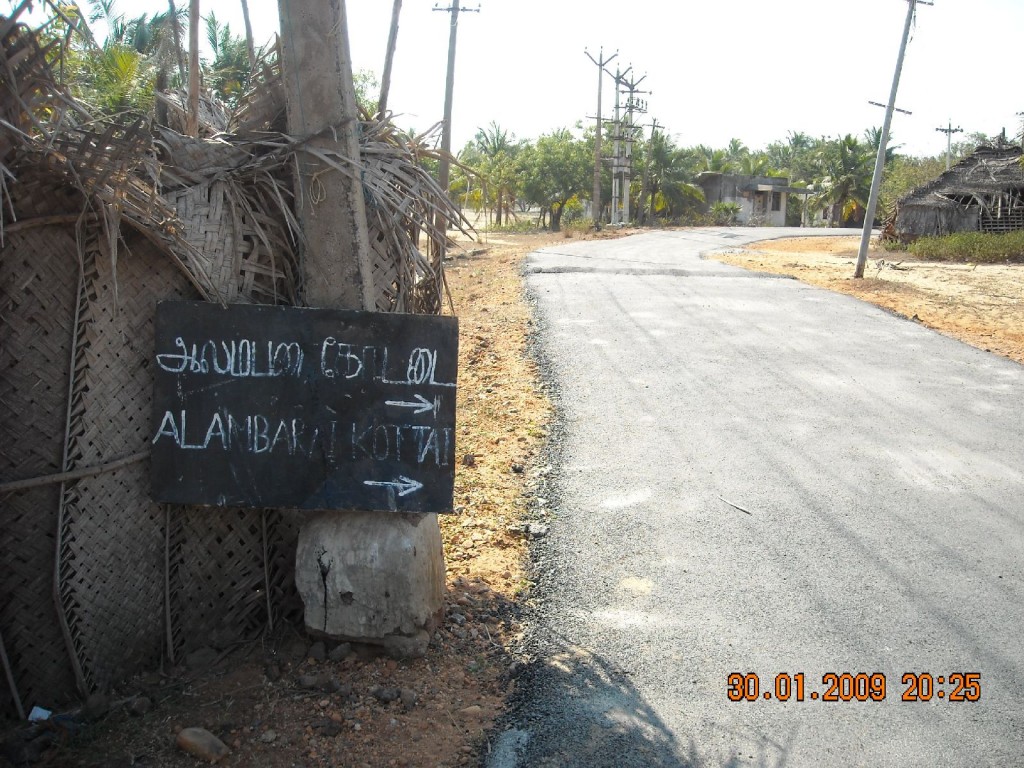
This road ends at the fort & to the left is a beautiful beach. There are lots of fishing boats here. Most parts of the beach is busy in mornings and slowly the population dwindles as the day winds on. By now, our Sun was shining brightly over the horizon. The sand was pure “white” in colour.Â
The Fort
History says that this fort was built by the Mughals during the 17th century. More details about the history can be had from the snap below.Â
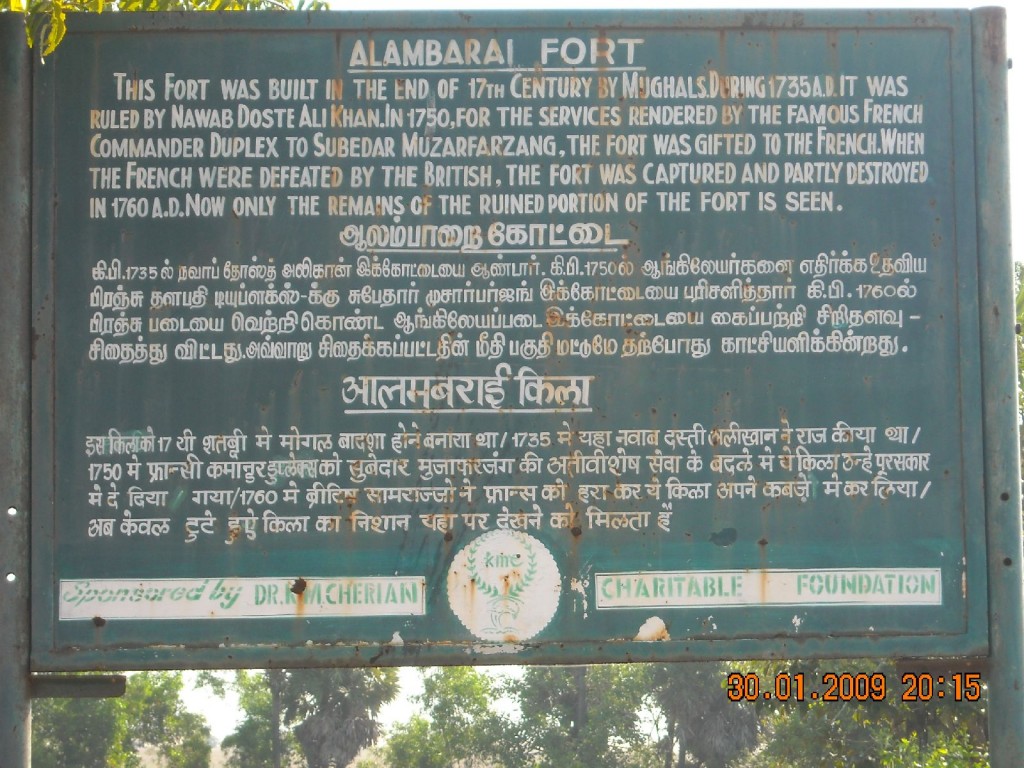
Most parts of the fort got washed during the 2004 Tsunami. What remains here now is just a fraction of what it used to be before. Local folks said that almost all of the fort got buried in the sands during the tsunami. Inside the fort, there is only an old Islamic Dargah, leaving a reminder of the once famous and majestic Fort. Weeds were growing in many places. During nights, I guess the whole scene will present a eerie sight 🙂
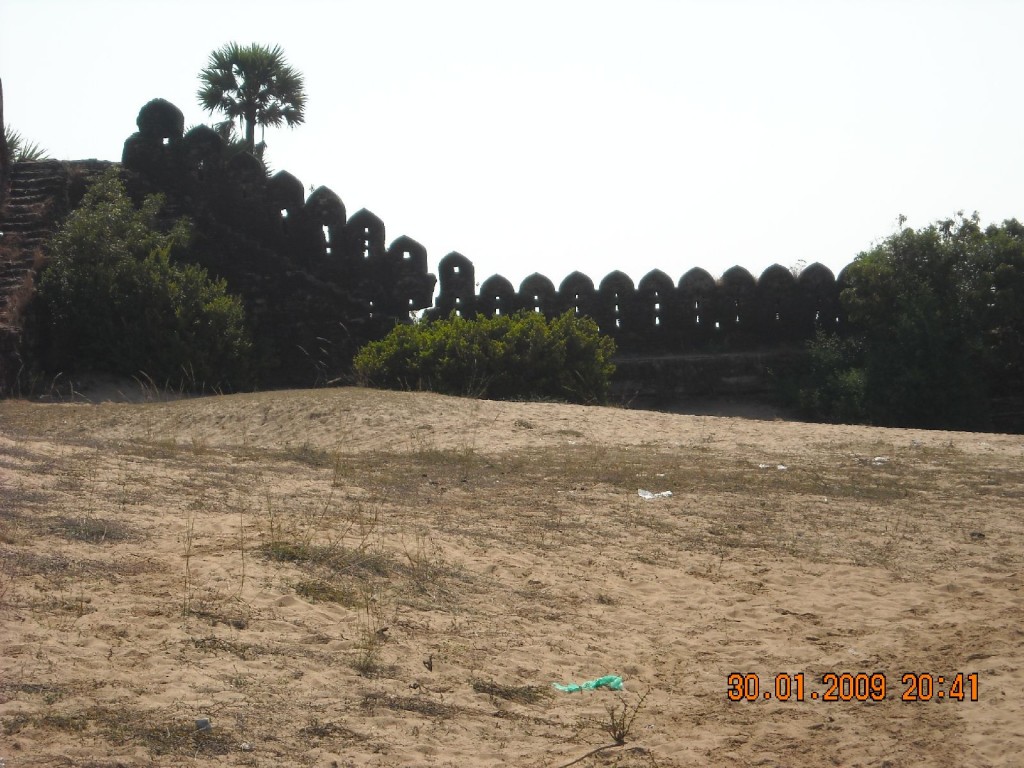
Part of the perimeter of the Fort
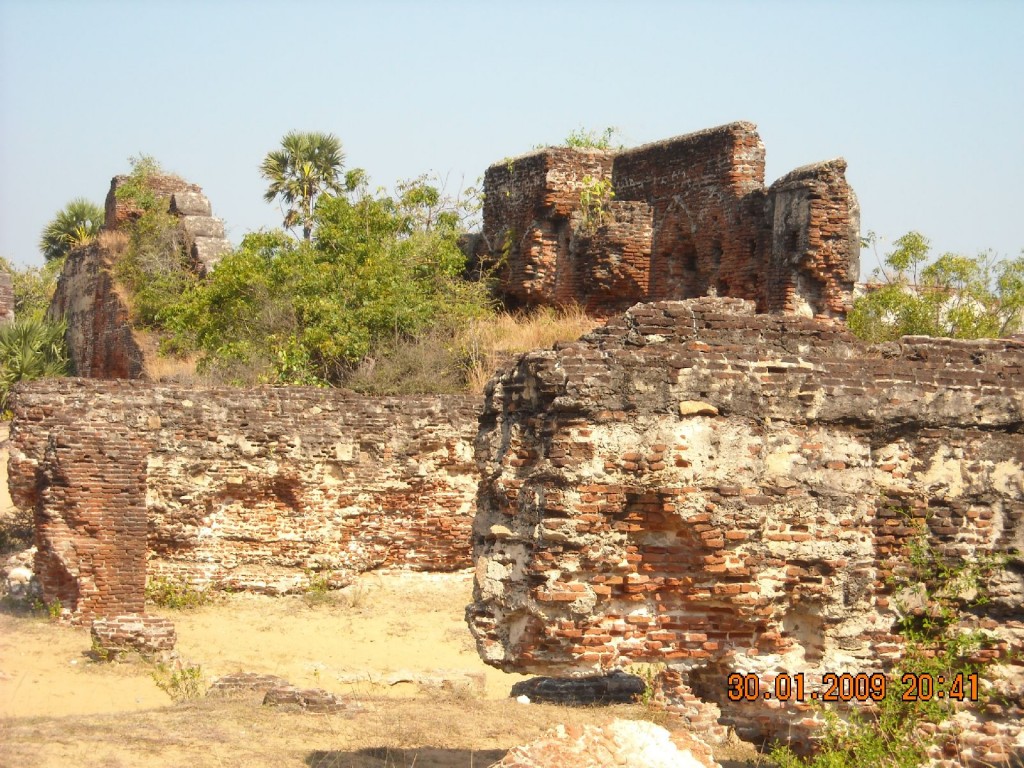
Broken Watch Tower
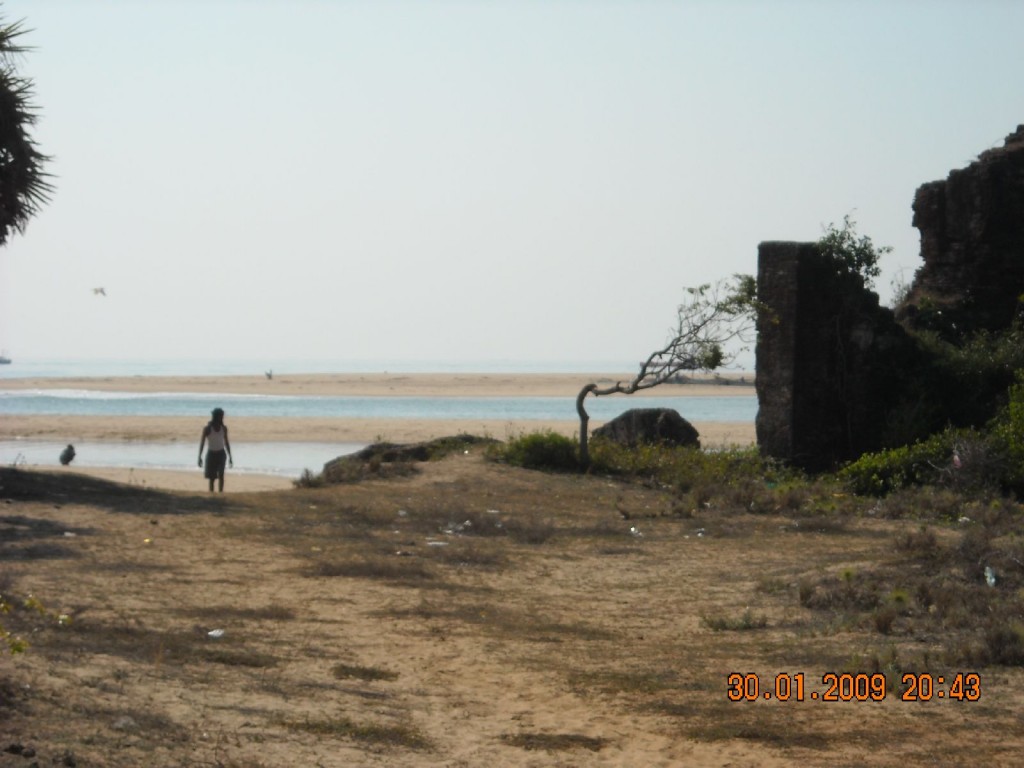
Sandy path that leads to the beach
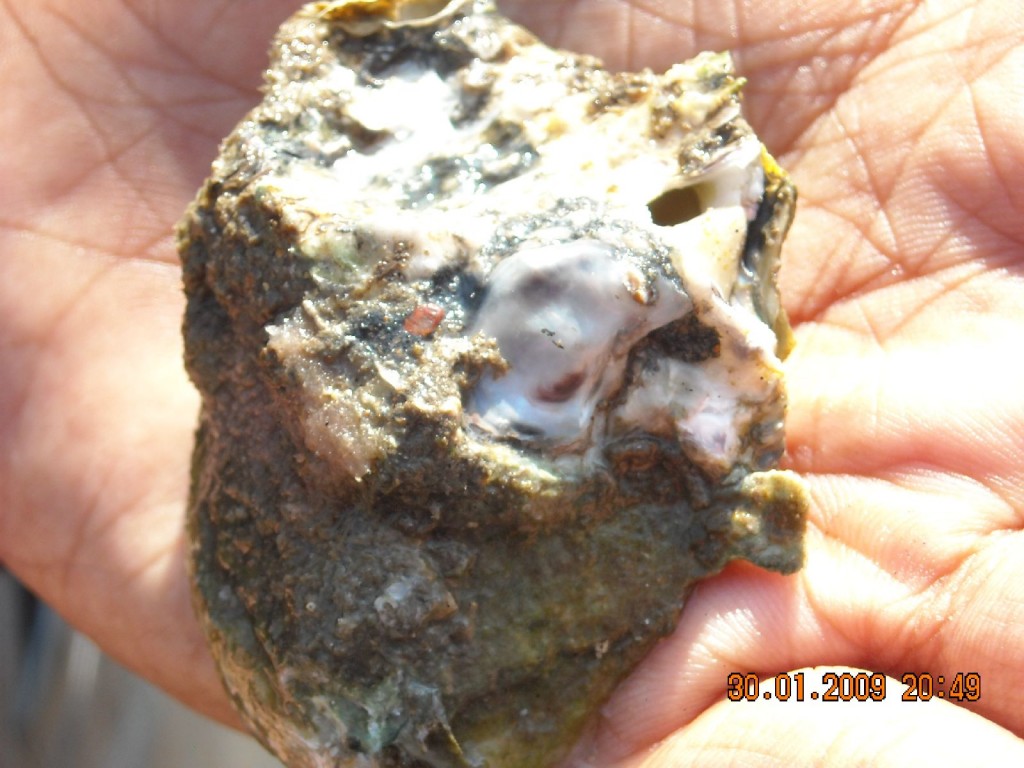
Aali – A locals’ favourite dish of the snail variety
We also crossed a few superb lily ponds on the way to the Fort & took some snaps.
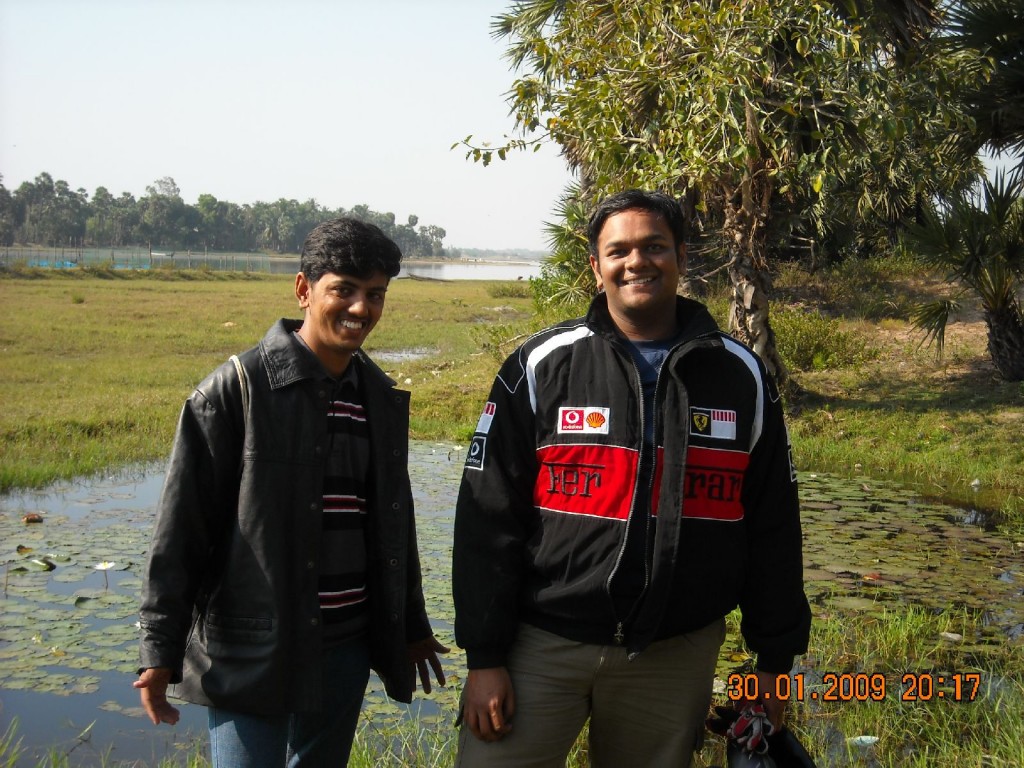
Here’s me & Paramesh. Oh! Boy, I’m so smart 😛
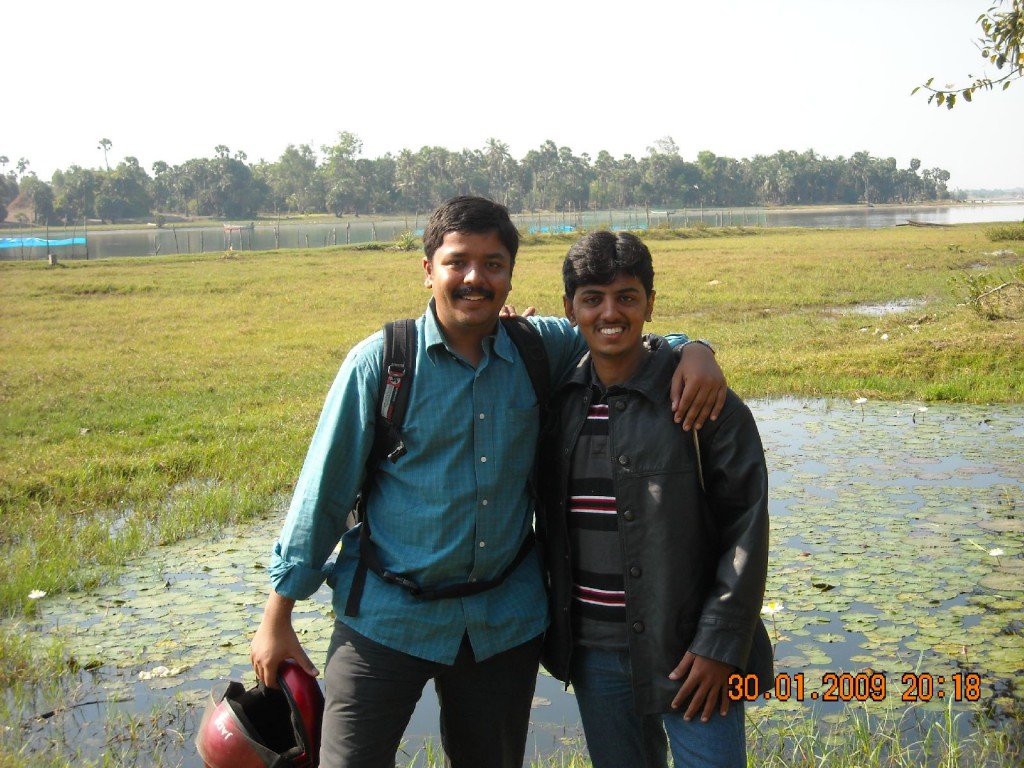
That’s Arvindh & myself.
The Adventure
Following is by far the best part of the whole morning. We talked to a few fishermen here & they said they would take us for a ride in the deep sea. They warned us to be cautious on the boat because it obviously doesn’t have any railings etc. It was a small fishing boat & the smell of freshly caught fish was wafting through the air. They had just emptied the nets & put them back on the boat for the next ride into the sea. Few other guys who came to the beach also joined us. A rope was tied around the plate on the side of the motor of the boat. Then four of us pulled it together. The motor came to life. My heart started throbbing with excitement. I’m sure Arvindh must have had the same feeling because he was all smiles. Paramesh for some crazy reason didn’t join the boat ride.
There were lots of small islands of sand on the sea. It was like, “land-sea-land-sea-land-full sea”. Hope you get the idea. The boat chugged along the curves of the small islands and before long we were on the edge of the land, looking into the big blue sea 😀 . Words can’t do justice to the excitement we were experiencing. Adrenalin was in full flow.
As we were talking and making fun of each other, a huge wave started making its way towards our small boat. The wave was high enough that we couldn’t see the waters behind the wave! This was the moment we were waiting for. The fisherman eased the boat on to the wave. The boat’s angle was now about 30 degrees to the water level. Within seconds, the wave lifted the boat very easily! as if it were playing with us … and then it dropped us on the water. For some unknown seconds we were flying 🙂 . The boat landed with a huge THUD!!! on the water and made a HUGE!!! splash, salty water sprinkling on us.
This repeated for about 7 more times. The waves were making us dance to its tunes & boy … we did dance! Totally in love with Mother Nature. Then the waves eased and the sea became calm. The fisherman told us that deep seas doesn’t have much waves & they are usually calm. The water was crystal clear but very salty. One of the accompanying dudes tied a rope to his hand and jumped in the water … IN THE BIG SEA. Then the boat started moving slowly, pulling him along the water. If only I had anticipated this ride, I would have got some spare dress & jumped in too.
After about 45 minutes, we turned back to the land, negotiating the waves again as we were approaching the land. This was one of the best moments of my life until now. I just cannot forget it! Nor can Arvindh. Here are some snaps for you to relish.
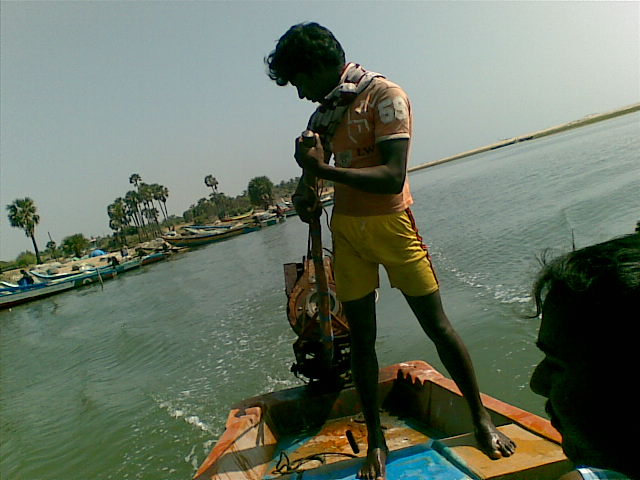
The fisherman who drove the boat
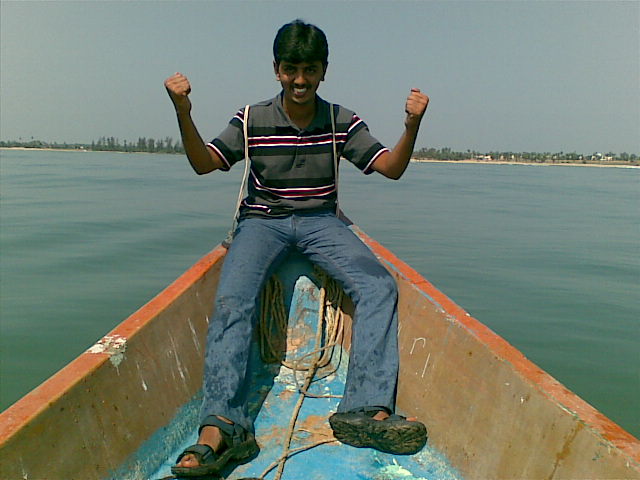
Me – sitting on boat’s edge
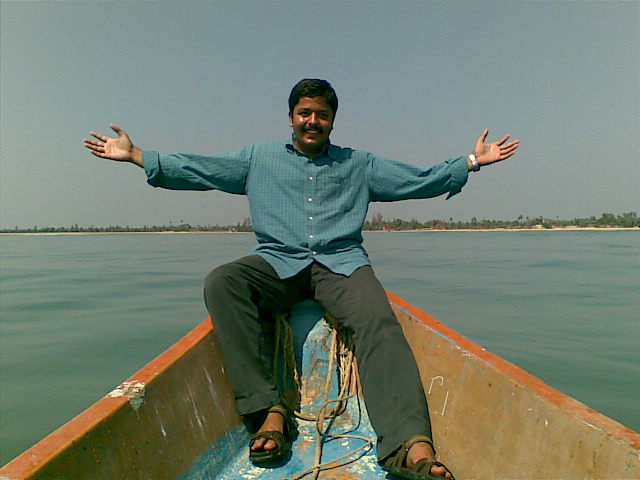
Arvindh – posing on boat’s edge
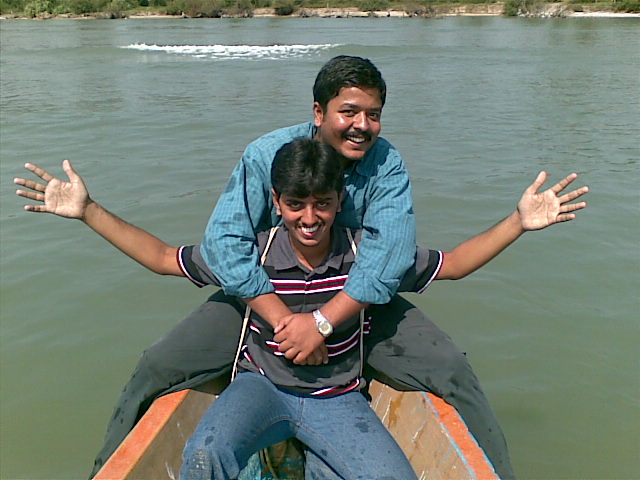
Both of us
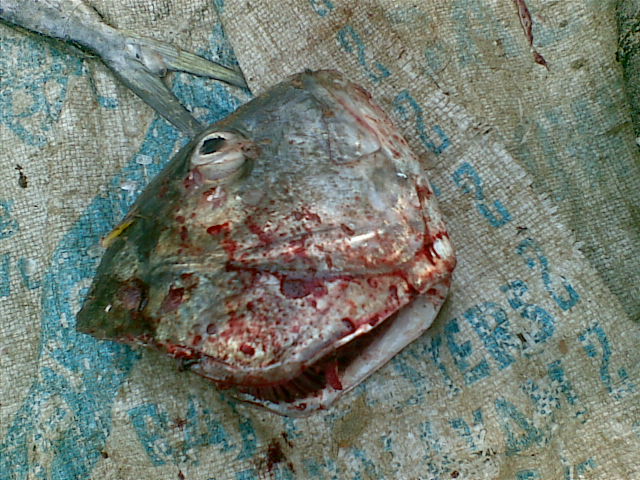
Fish – dissected – Front View
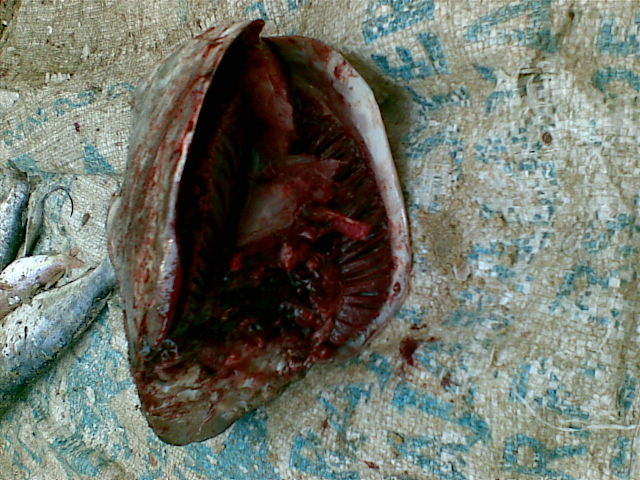
Fish – dissected – Side View
The Ride Back
We reached Mahabalipuram in about 45 minutes. From there we took ECR until Kelambakkam and then drove to Chennai on the awesome IT Highway a.k.a Old Mahabalipuram Road a.k.a Rajiv Gandhi Salai. Paramesh is coming up with a guest post about the OMR and some driving lessons. I will put that up in a few days here. We reached Chennai by 2 PM.
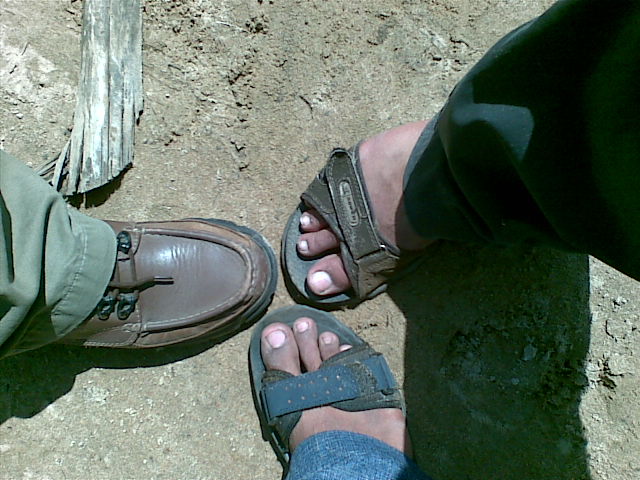
All in all, this was an awesome half a day spent very well! Loved it!
Trip to Tirumala
February 10th, 2009
Feb 8, 2009 was a good day 🙂 About 40 of us from Chennai drove to Tirupathi & then went to Tirumala by foot. This trip was organized by Chennai Trekkers Club. All of us assembled at Koyembedu at around 4.45 AM in morning. After a few minutes of roll calling & fixing, we started our drive to Tirupathi in 4 cars and 4 bikes. It wasn’t very cold in Chennai. But as we crossed the border into Andhra Pradesh on NH5, the chill started hitting. As always, NH5 is an awesome road. Road is very smooth that you don’t want to drive at anything less than 80kmph. Soon after the check post, we took the turn towards SH51 that goes to Uthukotai & Periyapalayam. This is the same route that we took to Kone Falls few months back.
Few minutes into the SH51 & we knew what we had ahead of us. Road condition was bad. Very bad. There were mini craters everywhere that you have to carefully bend your bike to avoid them, sometimes facing the wrath of the vehicles coming in the opposite direction. One particular 25km stretch from Uthukotai town to Periyapalayam had 31 huge craters & about 12 minor craters that driving on it was like going on a roller coaster 🙂 . I just couldn’t believe that it was the same road we took to Kone Falls few months ago. Now it had been battered & it was badly in need of repair.
After Periyapalayam, the roads became sort of ok. Ten kms after Kone Falls, we crossed into the Andhra town of Puthur. Road from here to Tirupathi was good, except for one major glitch. The road was supposed to be a highway & there were speed breakers sprinkled at random points. They weren’t even coloured differently. At one point, we were driving at 90kmph speed & seeing a speed breaker barely 5m ahead, I breaked hard. Thank goodness we didn’t fall off the bike. Man… what a chill it spent up the spine! As soon as we landed after the speed breaker, the bike refused to listen to the accelerator 🙂 so we reduced our speed & then slowly increased it again … only to find another speed breaker few kms ahead! This time we were able to manage properly.
Reached Tirupathi
Â
The whole gang reached Tirupathi safely after a 3.5 hour drive. Riding at a constant 90 kmph on fairly good roads, with chilly winds kissing your body & bumping along craters had its toll. All our bikers’ arms & legs were shivering for close to half hour. The chill in our bodies left us only after we emptied our tanks. We had breakfast at Tirupathi & then drove to Alipiri. Alipiri is the base of the hill from where vehicles can go to Tirumala (the abode of Lord Venkateshwara). We waited for a few minutes here for some Tirupathi folks to join us.
We then proceeded towards Srinivasa Mangapuram from where our trek was to begin. We reached the base camp, which was the entrance to the TTD (Tirupathi Tirumala Devasthanam) forest area. We parked our bikes & cars, and had our water bottles, glucose & snacks distributed. We started “trekking”.
Climbing Up
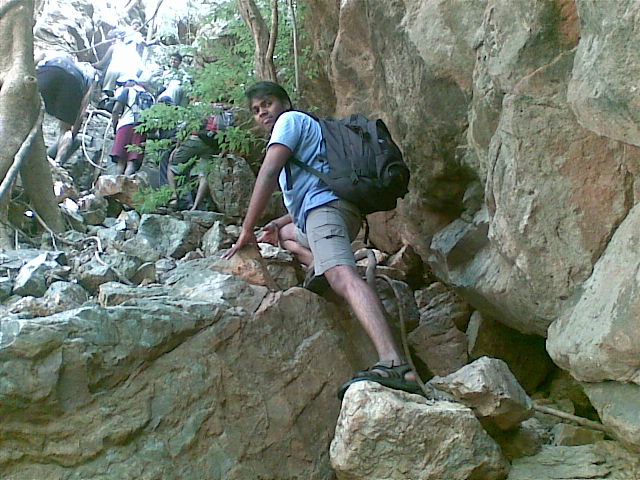
Few minutes into our route, we came to know that there were 2388 steps to reach the top of the hill into Tirumala. These steps were quite steep at many points. At certain points, climbing at the center of the steps proved to be a bit difficult because they were constructed at certain angles. Nevertheless, we climbed up and reached the top in about 1.5 hours. The alternate route that walkers take at Alipiri is a very long one and takes 4.5 hours to reach the top. This one is shorter but steeper.
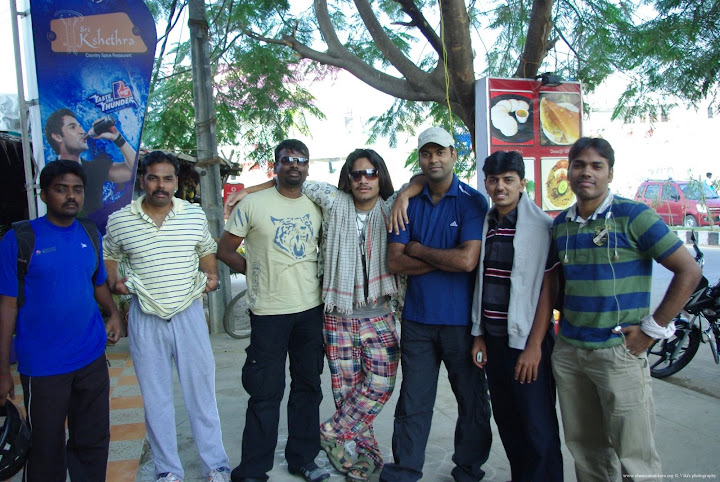
Along the way, we made good friends with lot of people from the gang. Notably, Naveen & Praveen, the brother duo who had passed out of RMK College School of Engineering. We had absolute fun ragging each other 🙂 . Then we made new friends with Jean, Arun, Delphine & Maria, who had come to India from France (Paris) for internship. It was fun getting to know them. Its always great to remember someone of the past. One guy from the BlogCamp team named Karthik had joined us for the trek with his friend Vetri. We chuckled about the “How do you feel now” story which most blog-campers of Chennai know about 😀
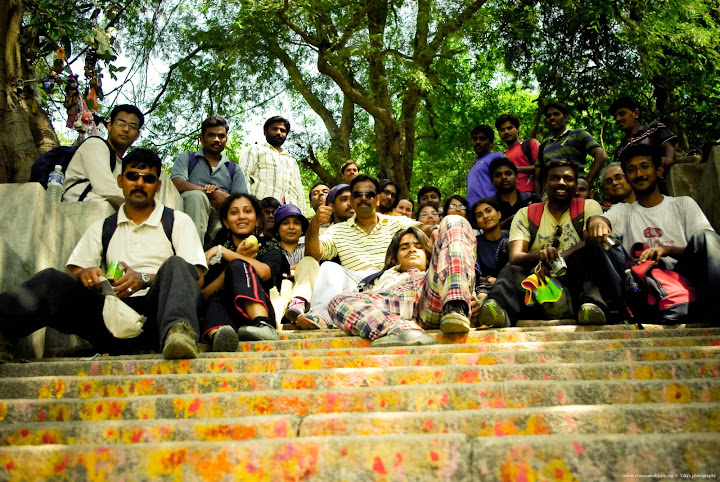
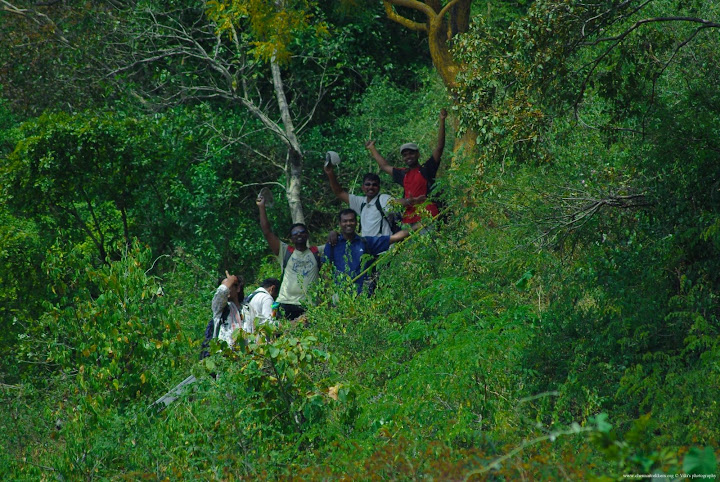
At one of the steep turning points during the climb up, all of us took a group photo.
Six of the gang deviated from the original route and were following a rocky path for a brief period 🙂 Hope they had fun doing that.
Reached Tirumala … Yay!
We had pears to celebrate the victorious walk up the hill 🙂 lol. After everyone assembled here, we had lunch & proceeded towards Akasha Ganga. There was a surprise at this place. Lot of hawkers were selling “instant photos” of frame-able size. They had Dell laptops which were connected to colour printers. The overall circuit looked like this — Exide Battery (cars, lorries – big ones) -> junction point -> laptop -> printer -> digital cam. Whoa! That’s a cool use of technology. Isn’t it?
Myself and a few guys climbed down to reach the small water falls. We reached its top and took some pics. Unfortunately, those pics got deleted from my mobile because the card got corrupted. Damn. There were about 110 photos on the mobile & everything vapourised into thin air. Here are two of them from Vikram’s camera.
That was fun 🙂 There was algae all around, so we had to tread a bit carefully. After Akasha Ganga, we visited Papavinasam. Jean applied Srichoornam to his forehead & was looking like a monk (albeit with his shaved head). Lol. That was something I least expected.
After Papavisanam, we started climbing down the same way we had come to Tirumala & reached the basecamp by 6.30PM. After settling the accounts & stuff, we started back to home sweet home.
Pictures Courtesy …
Vikram and Rajasekar. Thanks a lot photographers 🙂
Some Improvements
As I had found out from this picnic, my stamina has improved a lot. I was able to climb (up & down) the steps without sitting anywhere, after a visibly blown out ride. There was no body pain or anything of that sort on Monday morning. I woke up fresh to the memories of the trek with an awesome gang.
Hope you enjoyed the read! More coming soon … 2009 is exciting I should say. Heheh!
HttpURLConnection.setFollowRedirects Bug
January 29th, 2009
HttpURLConnection in the JDK has a bizarre bug. When it receives a HTTP response code in the 3xx range, it performs redirection to the web page mentioned in the “Location” header. However, when it does this, it forgets to send all the cookies with the request. Therefore, if you are working with any of the web 2.0 APIs which perform redirection and require this authentication cookie with each request, you are doomed because the server will redirect to the login page thinking that this is an unauthenticated request.
The solution for this is pretty simple. If you have written code like below:
URL u = new URL(“http://www.example.com”);
HttpURLConnection conn = (HttpURLConnection) u.openConnection();
You have to add one more line that sets redirection to “FALSE” & do the redirection yourself with the cookies, which becomes like:
URL u = new URL(“http://www.example.com”);
HttpURLConnection conn = (HttpURLConnection) u.openConnection();
conn.setInstanceFollowRedirects(false); // do not redirect
String locHeader = conn.getHeaderField(“Location”); // get the location
String cookies = conn.getHeaderField(“Set-Cookie”); // get the cookie
u = null; conn = null;
u = new URL(locHeader);
conn = (HttpURLConnection) u.openConnection();
conn.setRequestProperty(“Cookie”, cookies); // set the cookie yourself
….
Done! That should solve the bug. If this seems too much to do, then you should consider using this excellent HttpClient library from Apache.
I did the above mentioned stuff for this Free SMS Java Library because:
- The library has to be very small because it is just one file.
- Eliminate external dependencies that will bloat the library.
How to open mobile websites on your PC browser
January 19th, 2009
There are a number of use-cases for which you would want to browse a mobile-optimized website on your PC. When you visit the mobile website on your PC’s web browser, the website displays the full content much to your dismay. However, when you visit the browser on a mobile, it displays a perfectly mobile optimized page.
In these cases, there are some simple steps that you can follow to open mobile websites on your PC:
- Download and install the latest version Firefox from http://www.getfirefox.com/.
- Visit Firefox Add-ons page and download the Modify Headers addon.
- Install the addon and restart firefox.
- From the firefox window, select “Tools” menu & click on “Modify Headers” option (Tools -> Modify Headers).
- The window will open as shown:
 Click to enlarge
 - Below the title bar, there’s a drop down. Select “Add” from the drop down box.
- Now in the text box next to the drop down, type “user-agent”.
- In the third text box, paste this string – Mozilla/5.0 (SymbianOS/9.2; U; Series60/3.1 NokiaE51-1/100.34.20; Profile/MIDP-2.0 Configuration/CLDC-1.1 ) AppleWebKit/413 (KHTML, like Gecko) Safari/413.
- Click on “Save”.
- The screen should look like as shown in the screen shot below:
 Click to enlarge
 - Using the buttons on the Modify Headers addon window, you can enable or disable particular items.
- That’s it! Whenever you want to view a mobile website, just go to Tools->Modify Headers and enable the user agent you added in step 8. When you don’t need it, just open this window and disable it.
- You can close addon window after you have enabled/disabled items.
- Enjoy! 🙂
Behind the Scenes:
Most mobile websites make use of the HTTP header called “User-Agent”. This header tells the server what kind of web browser the user has. So, mobile websites usually look for the name of the device manufacturer in the User-Agent header. If it matches one of the manufacturers then the mobile optimized web page is sent.
That’s about it! Hope you enjoyed this brief.
Now go and figure out how to display the iPhone version of Facebook on your PC 😉
User Interface of ATMs can be improved
January 16th, 2009
Everyone of you would have surely heard of Automatic Teller Machines & would have used one at least once. I use ATMs almost 2-3 times a week & find it frustrating that I have to navigate through a whole lot of screens to withdraw a small amount of cash. This blog post is an attempt to suggest a new user interface to ‘get things done’ faster & leave way for others.
Existing Screens
When you enter an ATM, you pop in your card in the card slot and then go through the following screens (or minor variations of them):
- Select language of choice.
- Enter your PIN.
- Next screen contains a slew of options such as Balance Enquiry, Mini Statement, PIN change, Cash Withdrawal, Fast Cash, Cheque Book Request etc.
- You select “Cash Withdrawal”
- You have to select whether its Savings Account or Current Account.
- Enter the amount in multiples of 100.
- Answer whether you require a printed receipt
- Wait for cash
- Answer whether you wish to do another transaction (“Yes” takes you to step 2).
- Withdraw Cash
- Balance Enquiry
- Mini Statement
New Screen Proposal
As soon as you enter your PIN in step 2, you should be directly taken to step 6. Since there are 4 buttons to the left and right of the screen, they could be used to provide other options. The four buttons on the left could contain Balance Enquiry, Mini Statement, Fast Cash & More…
This has lot of benefits:
- The amount of time being spent in the ATM to withdraw cash comes down drastically. To perform the 9 steps above, it takes approximately 3 minutes (counted yesterday). For aged people & new comers, it would take even more. So, during peak hours, if a huge crowd is waiting outside, imagine the time it would take for the last guy in the queue to get cash quickly. Now, jumping from step 2 to 6 in two screens will take less than a minute and things can happen quickly.
- Most new comers are intimidated at the number of options that are being shown. The data stored in the bank’s servers could be used to eliminate screen 5.
- A new option containing the language can also be stored in the bank’s backend so that screen 1 can be removed for further transactions from the same ATM card.
- Similarly, in step 6, since the ATM accepts only amount entered in multiples of 100, it needn’t display the last “.00”. For e.g. if you need to take Rs. 500, you have to enter ‘5’ followed by four zeros. I have personally helped an old person who couldn’t understand why the ATM wouldn’t dispense cash even though he entered ‘3’ ‘0’ ‘0’. On the screen, it showed as “3.00” and he couldn’t see the ‘.’ clearly. That is pretty bad from the usability point of view.
- Further, ATMs can have touch screens (State Bank of India has this). Touch screens are more usable than pressing mundane buttons on the screen.Â
HTTP Basic Authentication using AJAX
January 8th, 2009
Recently I needed a way for Threaded Tweets to do HTTP basic authentication to try out some stuff. As you probably know by now, it is written in javascript and uses no server side code. So, I had to find out some way to pass basic authentication credentials through the XMLHttpRequest object so that I could be authenticated with the Twitter server.
Turns out that it is pretty simple. If you use FireBug on any website that supports Basic Authentication, you will note that a new HTTP header called ‘Authorization’ is added. It looks like:
Authorization: Basic aDkdjfZy==
Now all you need to do is somehow pass on this header to the XMLHttpRequest object. If you use the native XMLHttpRequest, you can use the setRequestHeader method to do this:
xhr.setRequestHeader(“Authorization”, “Basic aDkdjfZy”);
What if you are using jQuery? Then also its pretty simple. jQuery’s AJAX object allows us to change the XHR object before the AJAX request is sent by setting the “beforeSend” callback; which is done as follows:
$.ajax ( {
url: “http://abc.com/”,
beforeSend: function (xhr) { xhr.setRequestHeader (“Authorization”, “Basic aDkdjfZy==”); },
succes: function(val) { alert(val); } } );
Base 64 Encoding:
One important part of Basic Authentication is that, you need to encode the username and password into Base 64. There are tons of Base 64 encoding tools written on javascript, which you can use. Example below:
xhr.setRequestHeader(“Authorization”, “Basic ” + encodeBase64 (“username:password”) );
That’s about it. Hope this was useful to you !
Some Updates
Cross-domain GET requests work all the time. The problem is with POST requests. Most browsers don’t allow XHR to POST data to a domain that’s different from the one in which the page is loaded. For this to work correctly, the ‘document.domain’ property must be set correctly.
The second best way to POST to another domain is to use an iframe and submit the form with the iframe as the “target”. Again, to read the result of the iframe, the “document.domain” of the parent and that of the iframe should match. This can be easily set through javascript. Thus, when the form post is done and the page is loaded, its value can be accessed.
Note: Chrome and Safari don’t allow access to iframe’s DOM if its document.domain is different from that of the iframe’s parent.
error: C compiler cannot create executables
January 3rd, 2009
That is a very common error that users generally encounter when packages are being compiled. Though the log files mention something bizarre, this error can be resolved quite easily by running the following command:
$ sudo apt-get install build-essential
That would do for most cases. Many programs also require a compiler-compiler called ‘bison’. You may install that also by giving,
$ sudo apt-get install bison
This would make sure “configure” scripts work properly.
